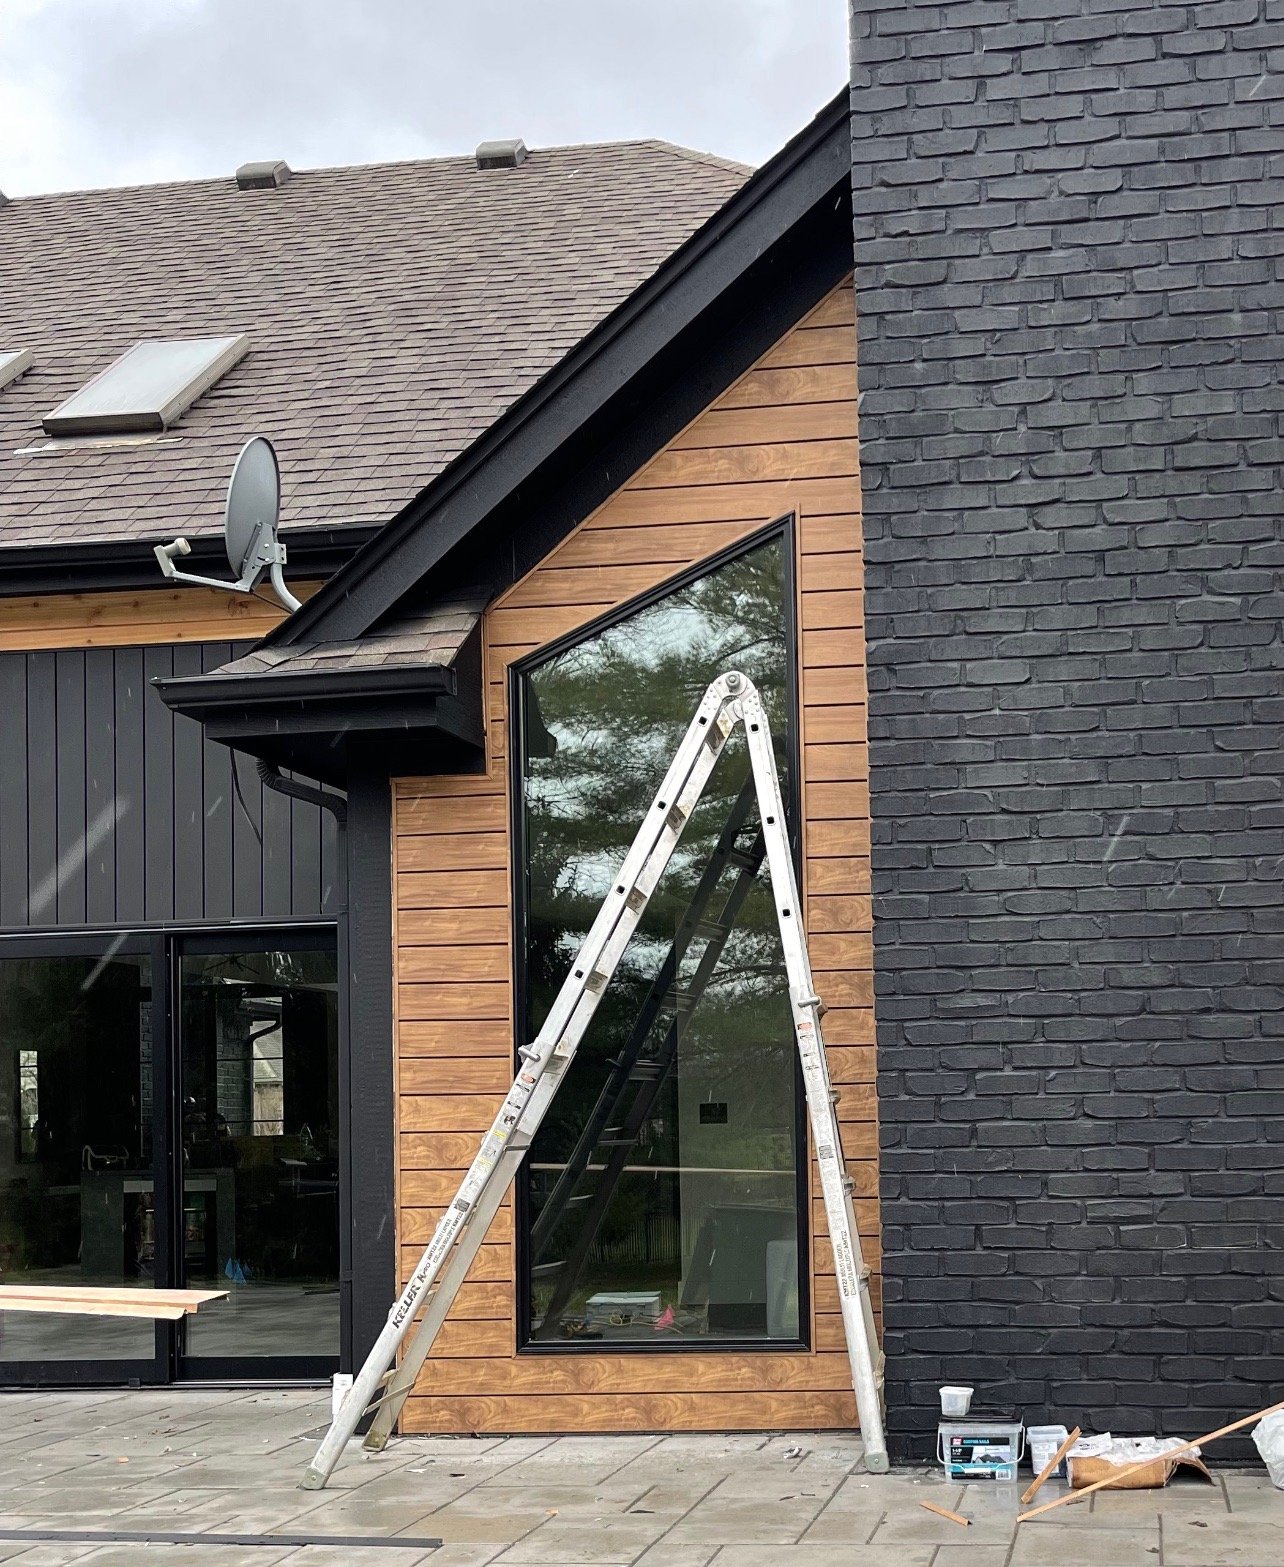
1. Tear Off and Wall Preparation:
- *Tear Off and Inspect the Substrate*: Tear off existing siding to the wood substrate and ensure the substrate is flat, nailable, and free from rot. Repair any damaged wall sheathing if necessary prior to installing house wrap. (When installing wood siding, a substrate is not always required since it can be fastened to studs, and therefore, local building code requirements must be confirmed prior to installation)
- *Install House Wrap*: Fasten house wrap with cap nails to the wood substrate to provide a moisture barrier. Overlap seams by about 6 inches and tape them with house wrap seam tape.
- *Install Flashing*: Install z-flashing and other cap flashings around doors, windows, and other openings to prevent water infiltration. Apply the seam tape around the flashings for double protection.
2. Install the Starter Strip Blocking:
- *Mark the Level Line and Studs*: Use a chalk line to mark a level line around the base of the wall, the starter should be flush with the bottommost portion of the sheathing/mudsill. When installing the siding, it must overhang the strip by ¼”. The starter strip is fabricated by ripping down a Hardie panel at a 1 ¼” width blocking and its purpose is to ensure the first panel sits at the appropriate angle. Crews should also mark the wall for studs so that the siding is not only attached to the substrate, but also through the studs for a more secure finished system. Due to James Hardie being permeable to water, it is crucial to install at least 6 inches from the ground/grade. If there is a slab of concrete, decks, or rooflines, it is crucial to install at least 1 inch off.
- *Attach the Starter Strip Blocking*: Position the starter strip along the level line and nail it in place every 16” to the studs. There should also be a ¼” space between the strips to allow for water drainage that may get behind siding.
3. Install 1x4 or 1x6 (Most used trim widths) Fiber Cement Trim Boards on Outside and Inside Corner Boards and Trim:
- *Position Corner Boards*: Place corner boards at each corner of the house, ensuring they extend from the bottom of the starter strip to the eaves. Please ensure the first panel of siding does not sit below the corner. All trim and corners must sit below the bottom of the first panel.
- *Nail the Outside and Inside Corner Boards*: Attach the corner boards using nails, starting at the top and working down, keeping nails centered in the nail slots for a cleaner aesthetic. Nail no more than 10” apart.
- *Install Trim Boards**: Install trim boards around doors, windows, openings, transitions, and along the roofline/under soffits if desired by the homeowner. These pieces will help seal the edges of the siding and create a more dimensional/desired look.
4. Installing the Fiber Cement Siding Boards (Horizontal):
- *Start at the Bottom*: Begin with the first siding board, aligning it with the starter strip and ensuring it is level. Nail it into place, flush. Use a 4’ or longer level to ensure the panel is level and snap chalk lines every 4-5 courses to ensure you stay level during the installation. It is critical that nails are not countersunk into the panel as it’ll make the siding more prone to wind blow offs. The siding panel should sit over the starter strip ¼” minimum such that the proper angle is made for the laps. Running the bottom of the first panel level with the bottom of the trim board is ideal.
- *Overlap and Space Boards*: Install subsequent boards, overlapping the panels by at least 1 inch. Specialty overlap gauges are required so that the siding isn’t installed in a crooked manner. When fastening the siding, you must fasten a minimum ¾” and no more than 1” from the top of the panel. Then, the subsequent panels will overlap by 1.25” to then cover those nail heads. This is considered the “blind” fastening method and is preferred for a cleaner look, and eliminates the “leoparding” effect caused by the color touch up kits. Joints on subsequent panels must be at least 2 stud spaces away, typically 32” apart on 16” on center framing.
- *Flash Seams and Fastening*: There should be a metal piece of flashing, or bearskin flashing, installed behind all seams joints similar to the James Hardie installation requirements to prevent water from going behind the siding. This must be installed at studs ONLY, and not solely into the substrate. In areas where the siding is installed above the Z-Flashing, it is crucial to keep a ¼” clearance above the flashing so water doesn’t get trapped and this cannot be caulked.
- *Check for Level*: Regularly check that the boards are level as you work your way up the wall.
- *Cut Boards as Needed*: Measure and cut boards to fit around windows, doors, and other openings, using a circular saw or miter saw. Keep 1/8” gap between panels and trim boards at these areas and then caulk at the end of the project.
Installing Fiber Cement Panels and Trim (Vertical):
- Refer to manufacturer specifications as there are multiple types of siding panels that the fiber cement manufacturers/James Hardie offers and the batten strips are installed in a specific manner depending upon the type of panels being installed.
5. Seal Trim/Panel Joints and Gaps:
- *Apply Paintable/Stainable or Color Matched Caulk**: Use exterior-grade caulk to seal all 1/8” gaps around windows, doors, and trim. This helps prevent water infiltration and seals the ends of the cut panels at those areas. This is CRUCIAL and needs to be maintained every 3-4 years so that water doesn’t penetrate any cracks or separation in the caulk. DO NOT SEAL BUTT JOINTS! This is why the bear skins/aluminum flashings are installed at the seams. Due to fiber cement absorbing water, maintenance is crucial to ensure the caulk is always solid and not cracked. Caulked areas in cracks lead to water infiltration and cause the panels to weaken, rot, and fall apart.
6. Install Top Trim and Finishing Pieces:
- *Cap Off the Siding*: Use a top trim board to cap off the top row of siding. Ensure it is securely fastened and sealed.
7. Clean Up, Magnet Sweep, Final Inspection
- *Inspect Your Work*: Ensure all panels and trim pieces are cleanly sealed.
- *Clean Up*: Remove any debris, magnet sweep for all nails, double check flower/mulch/grass/walkways and ensure the area is cleaner than when arrived to do the project.
- *Walk Around with Homeowners*: Perform final walk around to ensure work is completed to homeowner satisfaction and to answer any potential questions.
Helpful Fiber Cement Siding Install Tips:
- *Ensuring Wall is Properly Sealed*: It is crucial to caulk at all trim/siding junctions. If these areas are not sealed, water will get between the siding and trim and cause rot and water swelling. It is also important to make sure all seams are properly flashed with metal flashing at the time of installation.
- *Safety While Cutting Boards*: Wear safety glasses and masks while cutting the fiber cement boards to mitigate silica dust exposure. Silica dust is a known carcinogen and protective gear needs to be used with a dust collection saw and safety tint. If not using the correct tents, saws, and protective gear, large fines can be given to the contractor.
- *Handling Fiber Cement Boards*: Fiber cement boards are relatively weak and can easily crack if carried in the center. Boards need to be carried by two people, one on each end to prevent cracking or breaking of the panels.
- *Paint Touch Up*: When touching up with the paint touch up kits, it is crucial to perfectly touch up the small nail holes. If even a little bit of touch up paint touches the boards, small polka dot like marks will appear a few years down the road after the sun begins fading the siding. The paint in the touch up kits fades at a different rate than the siding due to the chemical reaction of the paint/fiber cement during the manufacturing process.
- *Maintenance*: James Hardie siding requires recaulking/repainting every 3-10 years depending on the elevations and how the UV exposure is at those elevations. This ensures the trim/siding intersections are always watertight. If maintenance is not done, James Hardie will nullify the warranty as water will penetrate these cracks and cause deterioration.


