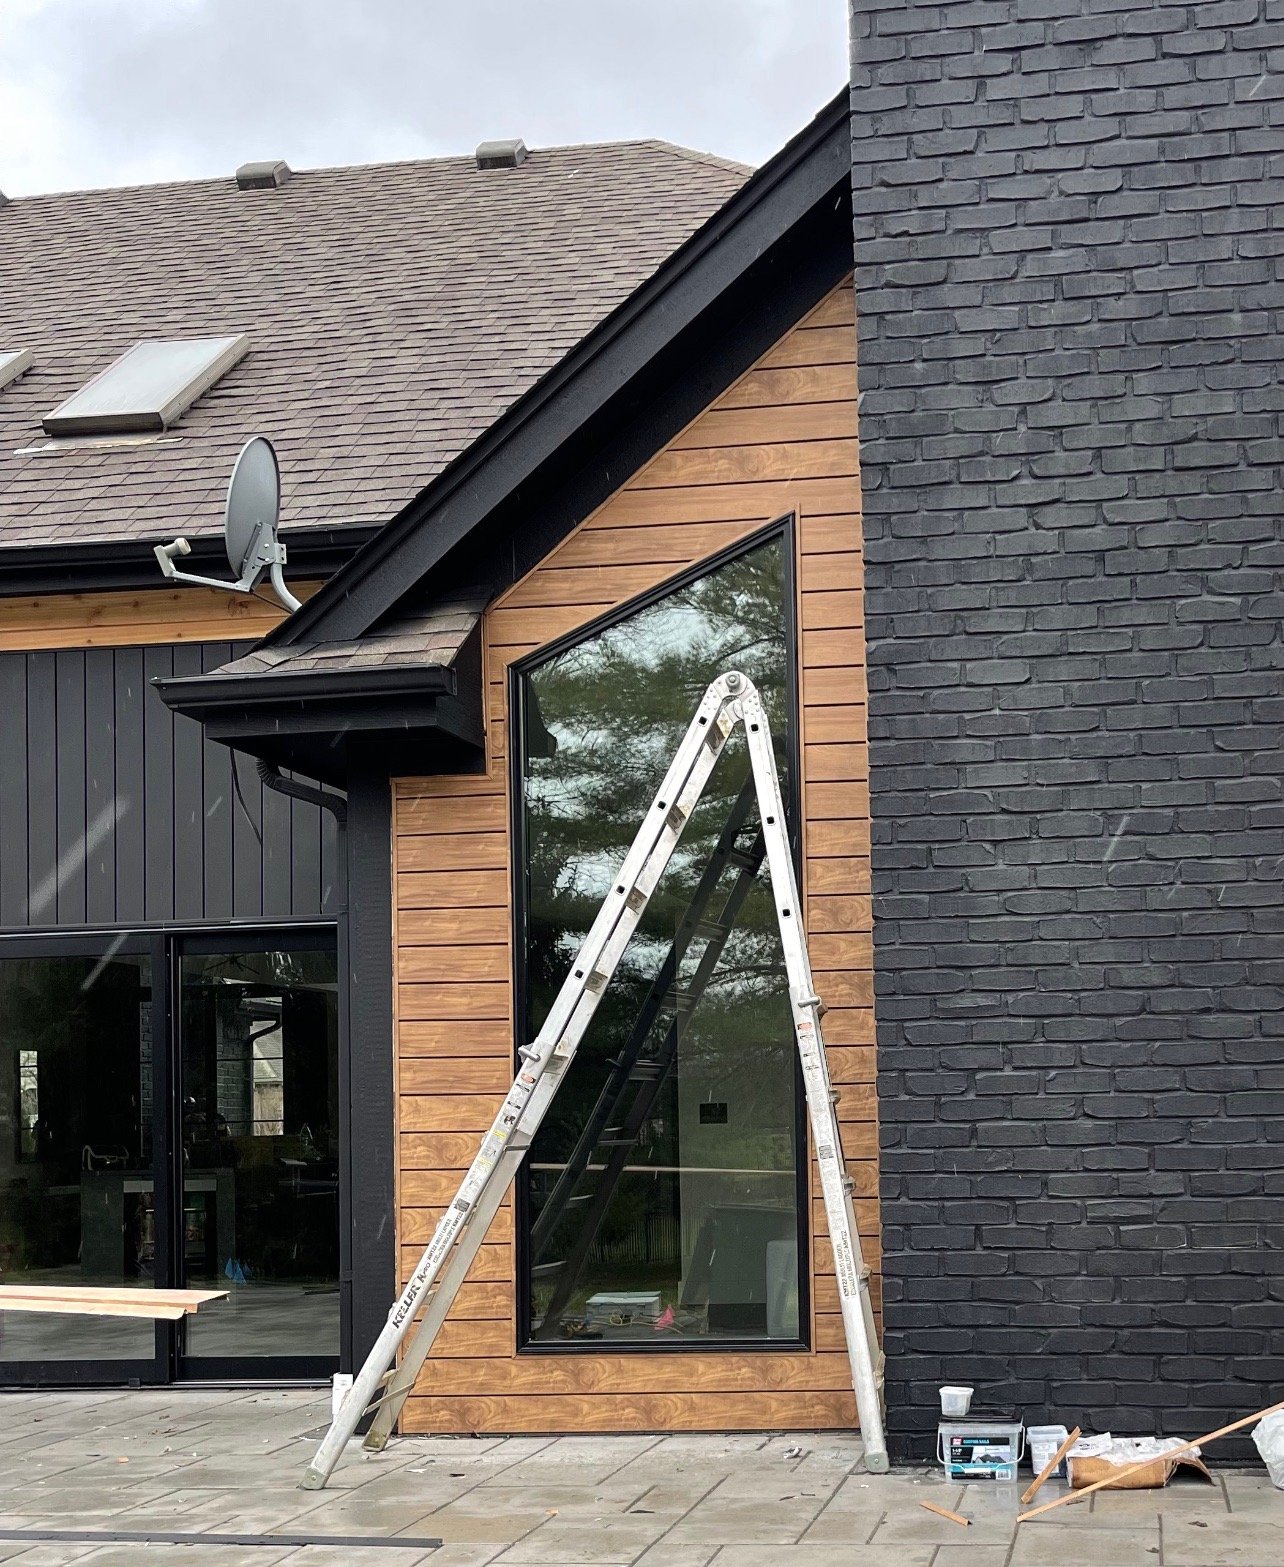
What are Hip and Ridge Shingles?
Hip and Ridge Cap shingles are specifically manufactured to be installed at the hips and ridges of your roofing system. These areas are where two roof facets meet, and therefore, are more vulnerable to water infiltration. Due to these shingles being manufactured in a manner to allow for pliability, they hold up longer than the old school way of fastening shingles at these areas (See Below – “Common Hip and Ridge Shingle Mistakes). Hip and Ridge Cap shingles are the very last shingles that go on after all roof facets have been installed. This is the “icing on the cake” of a roof system. There are multiple types of ridge cap shingles that serve different purposes:
- Normal Hip and Ridge Cap Shingles – Installed on the majority of shingled roof systems. Match the color of the shingles, lay tight around the hips and ridges.
- High Profile Hip and Ridge Cap Shingles – more aesthetically appealing, luxury vibe. These hip and ridge shingles have a thicker profile and sit off the roof more, giving it a luxury look.
- Impact Resistant Hip and Ridge Cap Shingles – installed with impact resistant shingles to allow for greater impact resistance from hail and debris. When installing impact resistant shingles, manufacturers require the impact hip and ridge shingles to be installed as well.
Common Hip and Ridge Shingle Installation Mistakes
- Installed Facing Toward the Prevailing Winds – The overlap of the ridge cap shingles should face the same direction in which the prevailing winds are going. In the case the shingles are facing towards the prevailing winds, the winds can catch the overlap and cause shingle blowoffs. Prevailing winds come from the Southeast and blow towards the Northeast.
- Not Sealing the Last Hip and Ridge Cap Shingle’s Nail Heads – When installing the last ridge cap shingle, they inevitable need to be face nailed (only on this last shingle), and therefore, the nail heads should be caulked to ensure there is no future leaking/rust of that nail head.
- Installing 3-Tab Shingles in Place of Designated Ridge Cap Shingles – A lot of contractors will still install 3-Tab shingles in place of the ridge cap shingles as they are significantly cheaper than the ridge cap shingles. 3-Tab shingles are designed to be laid in the field, not on hips and ridges. Therefore, they are becoming obsolete with the new advanced technologies in making dimensional roofing shingles. The 3-tab shingles, when cut into thirds, look nearly identical to ridge cap shingles. Although this is the case, they are not manufactured with as much pliability and therefore will prematurely crack at the ridges and hips, eventually leading to leaks.
- “Shiners” - Nailing Ridge Cap Shingles Too Low – Sometimes, due to the fast speed of roofing installers, they sometimes will nail low on the ridge cap, leaving “shiners.” Then, the next ridge cap shingle doesn’t overlap the previous nail heads, leaving the nail head exposed to the elements will eventually cause it to rust and lead to roof leaks.
Some manufacturers will not apply the same algae resistant technologies to their hip and ridge cap shingles, and therefore, can cause coloring/aesthetic variations on the roof. They do this by applying a significant amount of copper coated shingle granules to their field shingles but will limit how many copper granules are in the cap shingle. This will cause algae streaking on the ridges that may bleed onto the shingles and cause ugly streaking on the roof. Yes, the field shingles may be good, but the cap shingles could discolor causing a two-tone effect on the roof. This is a huge reason we heavily prefer ATLAS roofing shingles over other manufacturers, because they apply the same percentage of copper coated granules in their field shingles as they do their hip and ridge shingles.
How to Install Hip and Ridge Cap Shingles
When Installing the hip or ridge cap shingles, you will want to first inspect the shingles to ensure they are not damaged in any way and clear of debris upon removing from the bundles. Next, you will want to set a chalk line on the roof for the hip and ridge shingles according to manufacturer specification ensuring they will go straight along both the hips and ridges. From then, you will want to understand where the prevailing winds are coming from, and then lay the shingles in a manner that they are facing in the same direction as the prevailing winds, not against. Make sure you use 2 nails in each of the shingles and that you position the nails roughly 5 to 6 inches from the back edge, carefully ensuring not to overdrive the nails. Overlap each succeeding shingle by usually about 5 to 6 inches, covering the nails heads of the
previous shingle by at least ½”, to ensure there are no exposed nails. Once you reach the last hip and ridge cap shingle being installed, use a roofing grade silicone on the last cap shingle to ensure it is sealed, then silicone the exposed nail heads. Now that you are completed, inspect the work, ensure it is satisfactory, straight, there are no exposed nail heads, and clean up any debris or loose nails from the surrounding areas.
How to Make Sure Your Contractor Uses the Right Hip and Ridge Cap Shingles
Due to some contractors cheating homeowners using 3-tab shingles on the hips and ridges verses the actually hip and ridge shingles that should be installed, it is important to ensure your contractor is using the right shingles. Here is a cheat sheet for the names of the Hip and Ridge shingles for the 5 leading shingle manufacturers:
- ATLAS
a. ProLam Hip and Ridge Shingles
b. Pro-Cut Hip and Ridge Shingles
c. Pro-Cut High-Profile Hip and Ridge Shingles
d. StormMaster Hip and Ridge Shingles - IKO
a. Hip and Ridge 12 Shingles
b. Ultra HP Hip and Ridge Shingles - CertainTeed
a. Shadow Ridge Hip and Ridge Cap Shingles
b. Shingle Ridge Hip and Ridge Cap Shingles
c. Cedar Crest Hip and Ridge Cap Shingles
d. Mountain Ridge Hip and Ridge Cap Shingles - GAF
a. TimberCrest SBS Modified Hip and Ridge Cap Shingles
b. TimberTex Hip and Ridge Cap Shingles
c. Ridglass Hip and Ridge Cap Shingles
d. Seal-A-Ridge Hip and Ridge Cap Shingles
e. Seal-A-Ridge AS SBS Modified Hip and Ridge Cap Shingles
f. Z-Ridge Hip and Ridge Cap Shingles - Owen's Corning
a. ProEdge Hip and Ridge Cap Shingles
b. DuraRidge Hip and Ridge Cap Shingles
c. DecoRidge Hip and Ridge Cap Shingles
Author
-

Myself, Brent Bauer, and my amazing wife Ashley Bauer, founded Transform Charleston Roofing, Siding, Gutters, and Custom Exteriors with the passion and purpose to serve, love, and help people TRANSFORM their lives through self-development. We found that this is the secret to true fulfillment. This leads to our passion, as well as our “Why” as the Bauer’s.


