1. What reveal of Everlast is being offered? 4” or 6 7/8” Lap Siding, 11” Board and Batten? What trim package is being quoted? What exterior design is being quoted?
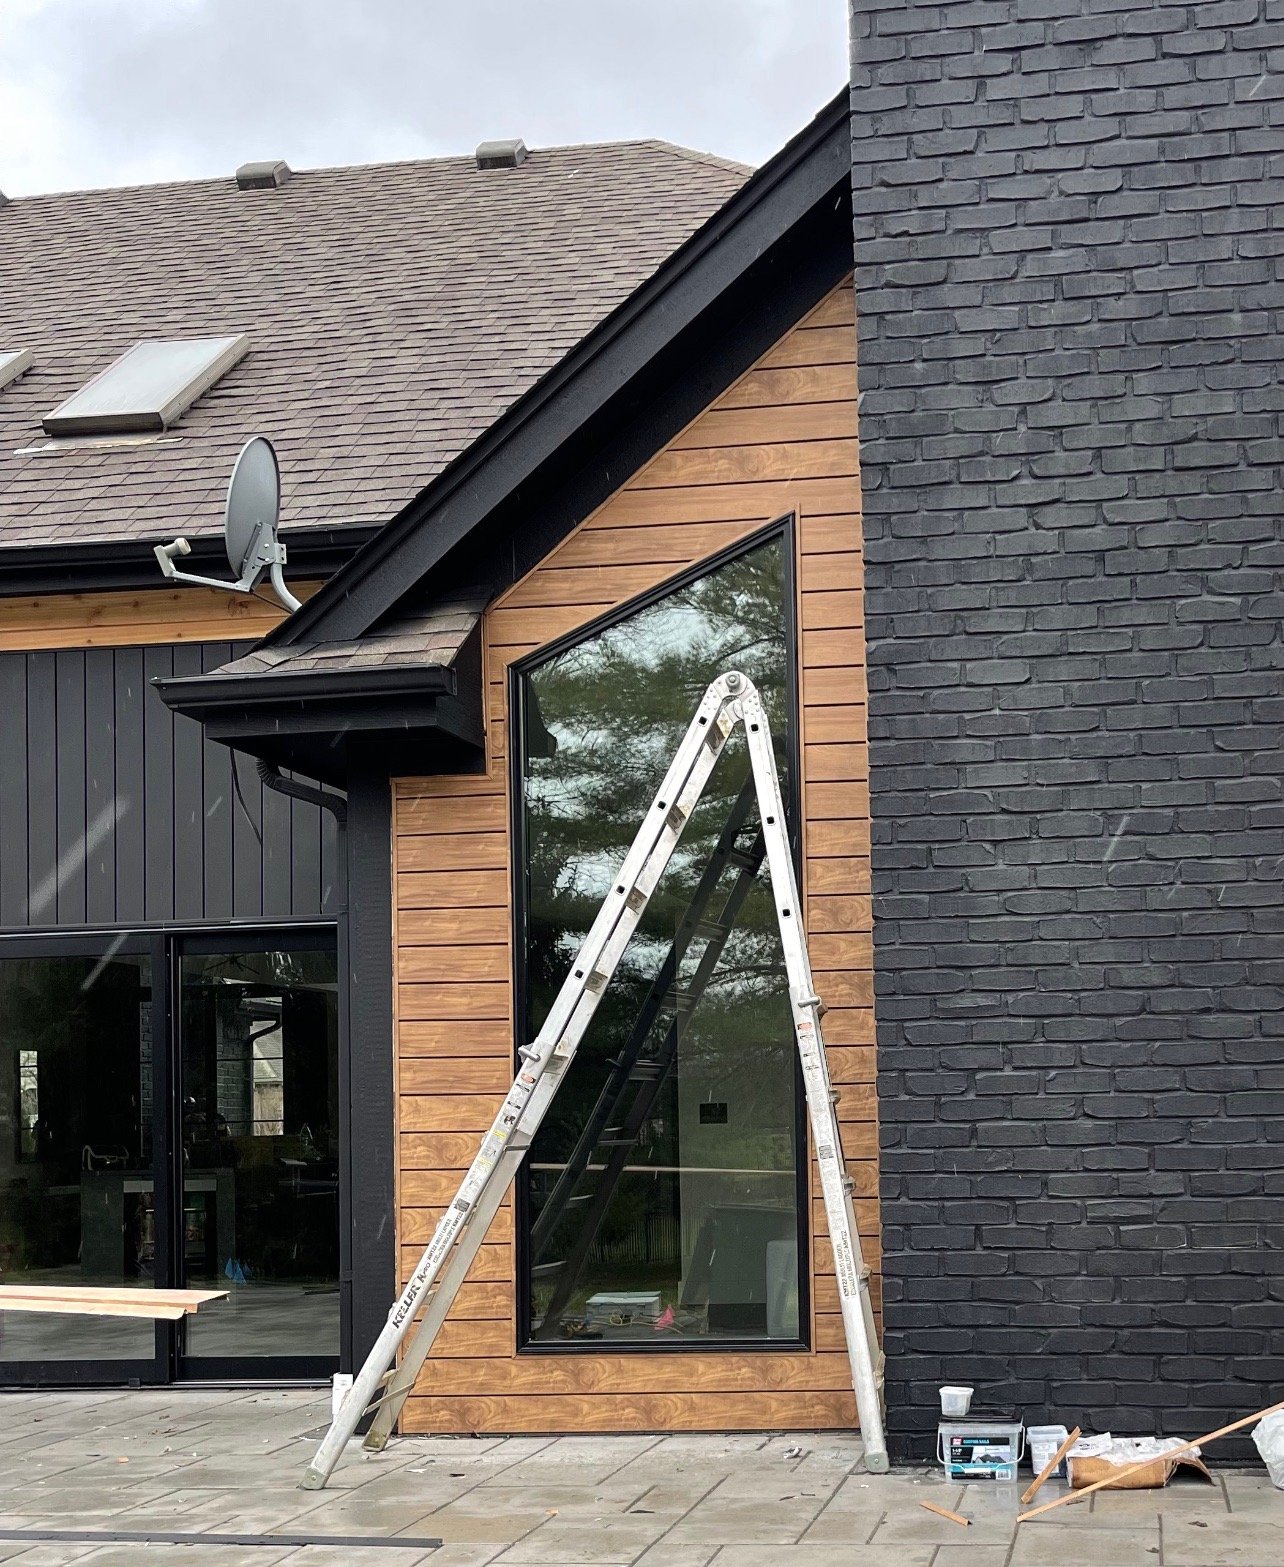
Everlast composite siding is offered in 3 different styles: 4”, 6 7/8”, and 11” reveal board and batten. Everlast has a numerous amount of trim packages offered that can be mixed for specific areas of the home. 1.5”, 1.5” 2-piece, 3.5”, and 5.5” width window, doors, and opening trims. Corner posts come in 3.5” and 5.5” widths and also come in optional 20’ foot lengths for seamless looks on two story homes. Each trim package requires a unique fastening method to ensure all miters are clean/seamless since Everlast is a product that does not get caulked. It is crucial to see a design layout or example prior to signing a contract for this project as contractors can quote an “Everlast” project but deliver with the bare minimum 1.5” trim packages and improper miter/connecting fastening methods.
2. What is the Everlast manufacturer’s warranty and does it cover labor? Any fine print details I should be aware of in the manufacturer warranty language that could nullify the warranty?
Everlast manufacturer warranty is a lifetime, 50-year manufacturer warranty, as long as the project is installed by a licensed siding contractor and installed EXACTLY to manufacturer specifications. Everlast’s warranty covers both labor and material in the case the product prematurely fades. This warranty is the longest siding warranty in the industry and Transform Charleston also offers a lifetime workmanship warranty.
All product warranties come with fine print and exclusions, but Everlast’s is by far the most transparent warranty in the industry. They stand behind the product and will bend to ensure the homeowner is always protected in a warranty related situation. Please read the warranty from front to back and compare to other siding warranties, you’ll see this as well.
3. When installing Everlast siding, how much space should be allowed between the panels and the trim for expansion and contraction of the siding? What offset stagger should be applied to consecutive panels to prevent water intrusion?
Everlast siding requires a 1/4” expansion and contraction cut to ensure the siding can move with temperature changes. This happens wherever siding meets the trim around corners, windows, doors, and other openings. Therefore, Everlast doesn’t require any caulking and is maintenance free due to its “channeled” trim packages. Also, all butt joints have hidden “seam brackets” that are CRUCIAL to ensure the seams do not separate. Each row of siding is designed to act as 1 panel and should move consistently from each end, not at the seams.
Being a channeled trim package, there is no maintenance with Everlast and therefore saves thousands of dollars over time due to there being no maintenance costs of labor nor material. On consecutive panels above another, the stagger should be at least 2 studs away, which is usually 32 inches as most homes have 16” on center wall framing.
4. When nailing the siding, where exactly are the panels to be fastened in the fastening area? When fastening to the wall, how far apart should the fasteners be?
When fastening Everlast siding, it is crucial to fasten to the studs in the wall. The siding SHOULD NOT be fastened to the wall sheathing solely. Wall studs are typically 16” on center and the nails must be placed in the center of the nail flange so that the panel can move left and right. If the nails are not placed in the center of the panel, it can prohibit movement and cause buckling.
It is crucial that the siding nails are fastened such that there is a 1/32” gap between the nail head and the nail flange to ensure the panel can expand and contract.
On runs longer than 60 feet, a special fastening technique is required for the center panel of that run. In the center of that panel, nails need to be placed on the far ends of the center nail flange such that the panel in the center doesn’t move and only the panels to the left and right are the ones able to expand and contract. If this is not done, the panels will pop out of the channel on the ends.
5. At the butt joints, what is required? What type of fastener is used here and why MUST different fasteners be used in these areas? How long are they?
At all butt joints, Everlast requires “seam brackets” to be installed to ensure the panels do not separate at the seams when it expands and contracts. The fasteners to be used at these brackets need to be fastened through the holes in the seam brackets, and into the siding panel ONLY! IF THE FASTENERS ARE TOO LONG AND ARE USED AT THIS AREA, THEY WILL PENETRATE THE SUBSTRATE AND PREVENT THE PANEL FROM EXPANDING AND CONTRACTING.
These fasteners cannot be longer than a ¼”panhead style screw. The fastener must be a pan head so that it doesn’t push subsequent panels out from the lap.
6. When installing standard 1.5” J-Channel trim around windows, doors, openings, and other necessary areas, how do you ensure the mitered corners remain seamless? What about the 3.5” and 5.5” trims, what is required with those? What about the “2-piece” trim package?
1.5” J-Channel – At all mitered j-channels at the corners around windows, doors, and other openings, it is CRUCIAL to install a 90 degree “L-Bracket” to ensure the corners do not separate. If the L-Bracket is not installed, the miters will separate and look terrible, also allowing excess water behind the siding.
3.5” and 5.5” Trim – Everlast specifies that a 1x1 wood block be installed blindly on the back side of the trim piece and fastened perpendicular to the trim at the miters into the adjacent trim piece to ensure the miters do not separate. Please see Everlast installation video to visually see this to ensure the crews perform the work correctly.
2-Piece Channel Trim – The 2-piece trim is to be used in areas where the soffit/wall meets, and sometimes, around other openings. In this case, the backside, NOT THE cap piece, needs to have a 90 degree bracket like that of the 1.5” 1 piece j-channel trim.
In areas where two pieces of trim meet along the same plane, due to the wall being longer than the length of the trim, another seam bracket is to be blindly installed on the backside to ensure the joints do not separate at these areas.
7. Where does Everlast require maintenance, caulking, and/or painting? Can you paint Everlast?
Everlast is unique in that it is truly a maintenance free siding product. This is due to it not needing to be caulked or painted thanks to its manufacturer channeled trim. Everlast, at the trim/panel terminations, tucks into the channels, diverting water away from behind the siding. Therefore, caulking immediately voids the manufacturer warranty.
Everlast is manufactured in colors and is not meant to be painted. Painting completely reverses the purpose of choosing Everlast, due to it being maintenance free.
8. When should the Everlast 2-piece J trim be used? Why must this trim be used at these areas specifically?
Everlast’s 2-piece J trim is to be used in areas where the final piece of siding ran horizontally (wall/soffit terminations and sometimes around windows/doors) is cut, or “ripped” down. The reason the 2-piece trim is to be used at these areas is because Everlast is not a flimsy product and therefore, in order for it to fit in the channel, the 2nd piece of the channel must be installed after that piece of siding is installed. If the siding is installed too short, and in reverse order than specified above, then the siding piece in the area is susceptible to blow offs due to winds and storms. Also, this is prone to leaks from blowing rains.
9. What is required above windows, doors, masonry ledges, block penetrations, and other horizontal transitions? What dimensions are required? How is it water proofed after installed?
“Z-Flashing” is required at all of these areas and must be a minimum of 3 inches on the wall, a depth such that it extends past/onto the material below, and a drip edge kick out of no less than 1/4” in order to divert water away from the opening. The consecutive panel above this horizontal portion of the Z-Flash must be at least ¼” in order to allow for water drainage and MUST NOT BE CAULKED! Wherever the Z-flash is installed on the wall, the moisture barrier must hang over the z flash or the z-flash must be seam taped where it meets the house wrap. This is to prevent moisture that may get behind the siding, from getting behind the z-flash and into the home.
10. When installing Everlast board and batten, outside corner posts, or inside corner posts, how must those panels be fastened in the nail flanges? Why is this important?
When installing vertical panels, outside corner posts, and inside corner posts, the uppermost nail flange must be nailed at the uppermost portion of that nail flange. The rest of the nails need to be placed in the center of the nail flanges, except the uppermost flange. The reason for this is so that the panel can only expand upwards and not down, similar to vinyl. All nail heads must be nailed with a 1/32” space between the nail head and the nail flange. This gives the panel room to expand and contract with the temperature changes.
11. When installing Everlast, where should you mark the chalk line and align the top of the starter strip? Why is this important? How far must the starter strips be spaced from one another and how far from the inside and outside corner post nail flanges should the starter strips be placed?
The chalk line marking the top of the start strip placement should be 3 ½” above the foundation/sheathing termination so that the siding locks in and still overhangs the foundation. This prevents rodents and insects, as well as blowing rains, from getting behind the siding.
Starters must be spaced ½” apart and 1-4” from the nail flanges on the corner posts


