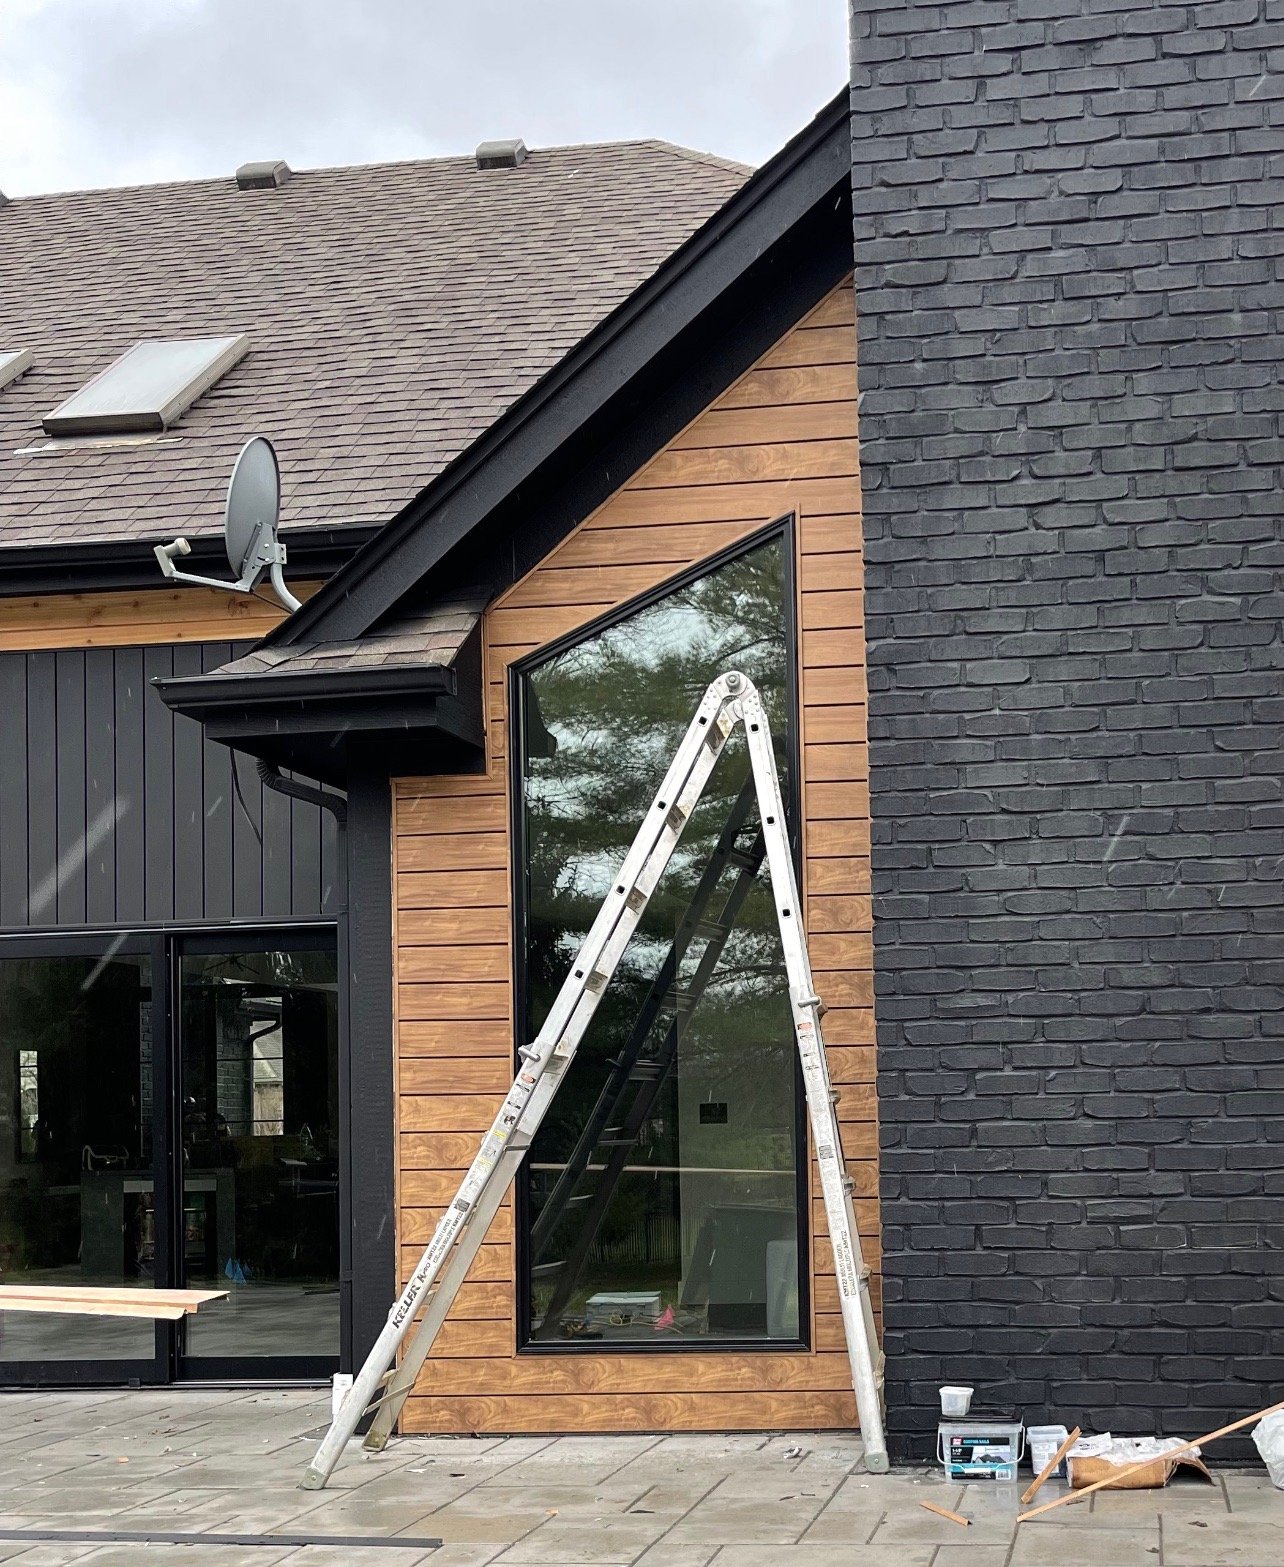
1. What tier of James Hardie is being offered? Lap Siding, Panels, Board and Batten, Artisan, or Shingle? What trim package is being quoted? What reveal and design is being quoted?
James Hardie fiber cement siding comes in lap siding with 6 or 7 inch reveals, large rectangular panels, panels and batten trim strips to give the board and batten look, artisan contemporary lap styles, and shingle style panels. Trim packaged range from 1x2 – 1x12 for James Hardie. The thickness and color of trim on a home plays an important role in aesthetics. Make sure your design is laid out in design to ensure the look is exactly what you are going for. For instance, a 1x4 trim looks drastically different than a 1x6 trim, yet it is only a 2” difference. Knowing where all trim pieces are going and the exact reveals of the siding is crucial for aesthetics as well.
2. What is the Hardie manufacturer’s warranty and does it cover labor? Any fine print details I should be aware of in the manufacturer warranty language that could nullify the warranty?
James Hardie has the worst warranty out of all manufacturer’s when it comes to fine print, length of warranty, and specified exclusions stated within the warranty language. James Hardie’s warranty is one of the shortest out of all siding products offered, at only 30 years. For instance, vinyl siding has warranties up to 50 years. James Hardie’s warranty does not cover labor if its product were to fail. The homeowner would be responsible for paying the labor cost associated with replacing the siding, even though it was James Hardie’s fault that the siding failed.
In Section 5 of the Warranty, it specifically states:
“(l) Lack of proper maintenance; and/or (m) Any cause other than material or manufacturing defects attributable to James Hardie.”
Maintenance is referred to in the warranty as: Recaulking, repainting, and cleaning “as necessary.”
The verbiage is extremely broad and gives Hardie leverage in warranty situations.
3. When installing James Hardie siding, how much space should be allowed between the panels and the trim for expansion and contraction of the siding? What offset stagger should be applied to consecutive panels to prevent water intrusion?
James Hardie requires a 1/8” expansion and contraction cut to ensure the siding can move with temperature changes. This happens wherever siding meets the trim around corners, windows, doors, and other openings. This then gets sealed with caulk. On consecutive panels above, the stagger should be at least 2 studs away, which is usually 32 inches as most homes have 16” on center wall framing.
4. When nailing the siding, where exactly are the panels to be fastened in the fastening area? When fastening to the wall, how far apart should the fasteners be?
When fastening Hardie siding, it is crucial to fasten to the studs in the wall. The siding SHOULD NOT be fastened to the wall sheathing solely. Wall studs are typically 16” on center and the nails must be placed ¾ - 1” from the top of the panel. Nails must also be placed at least 3/8 inch from the ends of the panels.
5. When fastening the siding, how much space should be left between the nail head and the siding panel? What caulk is used to caulk the nail heads?
It is crucial that the fasteners are nailed flush to the panel and not overdriven. Overdriven nails can cause blow offs and loose siding. This and “high nailing” less than ¾” from the top of the siding panels are the main repair calls we run when it relates to James Hardie siding.
Nail heads are not to be caulked as the caulk weathers at a different rate than the siding itself. The nails are supposed to be nailed flush to the panel, and in the instance where face nails are required, the Hardie paint touch up kits should be used to only paint the nail head, not the bleed on the panel as it can cause leopard prints as the wall fades from the UV exposure.
6. At the butt joints, what three options are available to prevent water intrusion? Which one is being quoted for this project?
According to the James Hardie HZ10 panel installation guide, one or more of the following joint treatment options are required by code (as referenced 2009 IRC R703.10.2):
A. Joint Flashing (James Hardie recommended)
B. Caulking* (Caulking is not recommended for ColorPlus for aesthetic reasons as the caulking and ColorPlus will weather differently. For the same reason, do not caulk nail heads on ColorPlus products.}
C. “H” jointer cover
Flashing behind butt joints provides an extra level of protection against the entry of water at the joint. James Hardie recommends 6 in. wide flashing that overlaps the course below by 1 in.
7. When cutting the siding, is there anything specific required to be done? Where must these panels be installed? Is joint flashing sufficient at the butt joints with cut panels?
When James Hardie siding panels are cut, it is required to “seal” the cut ends of the panels. Therefore, it is required to use these panels at areas that are going to be caulked where the panels meet trim or openings. Cut panels are not to be installed at butt joints for this reason, as they will swell from moisture and water in the air. Even though joint flashing is installed, the panels can still absorb moisture since the fibrous edges are now exposed. The reason these panels are okay to be installed where they meet trim is due to that area getting caulked at the end of the project, eliminating the potential of water intrusion.
8. Does James Hardie require a starter strip like vinyl siding? If so, what does it look like? How far should the first Hardie panel sit below this starter strip?
James Hardie requires a 1 ¼” piece of ripped down Hardie from a standard Hardie panel to be installed at the bottom of the wall substrate, even across, with gaps between adjacent starter strips to allow for moisture to drain. The starter must be installed over top of the water resistive barrier and over the “foundation” flashing at the base. The first panel must sit below the starter strip by a minimum ¼”. Siding should never hang below the Hardie trim.
9. When installing James Hardie along a roofline, what measurement is required for the panel to be from the roofing material? What else is required at this area for each of the cut panels?
When installing Hardie panels along a roofline, the Hardie must be cut at the angle of the roof and be at least 1” from the roof material. For each of the cut panels, they must be “sealed” on the cut ends running parallel to the roofline in order to prevent moisture from absorbing into the panel.
10. What is required above windows, doors, masonry ledges, block penetrations, and other horizontal transitions?
Z-Flashing is required at all of these areas and must be a minimum 3 inch on the wall, a depth such that it extends past the material below, and a drip edge kick out of no less than 1/4” in order to divert water away from the opening. The consecutive panel above this horizontal portion of the Z-Flash must be at least ¼” in order to allow for water drainage and MUST NOT BE CAULKED! Wherever the Z-flash is installed on the wall, the moisture barrier must hang over the z flash or the z-flash must be seam taped where it meets the house wrap. This is to prevent moisture that may get behind the siding, from getting behind the z-flash and into the home.
11. What two fastening methods can be used to install the Hardie siding panels?
James Hardie panels can be installed by blind nailing or face nailing. Please refer to the fastener requirements in the HZ10 Installation Guide, Figures 15 and 16. For ColorPlus siding options, it is highly recommended to not do the face nail option as the paint touch up kits fade at a different rate than the panels themselves. This is known as the “James Hardie “Leoparding” Effect” as the panels and paint touchup kits fade differently with UV light. Also, with ColorPlus, the nail heads MUST NOT be caulked for this same reason.
12. When installing Hardie, how far off grade must the first panel or trim board be installed? What about slabs, paths, or steps to siding? What about shelter areas, what is that distance?
Hardie, when installed near grade/ground, must be at least 6 inches from the ground. Regarding slabs, paths, or steps, the Hardie must be installed at least 1 inch. In sheltered areas, there must be a drip flashing where the wall meets the ground, and the first panel or trim board must be at least ½” from the floor material.


